REVIEW · OSAKA
Japanese Traditional Sweets “Nerikiri” making
Book on GetYourGuide →Operated by B.B.Advisors Inc. AN OSAKA · Bookable on GetYourGuide
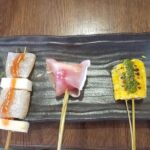
Candy gets artistic when you shape nerikiri by hand. This Osaka class has a simple goal with a big payoff: you make two seasonal wagashi and learn the feel of the dough and the look of the finished sweets.
I especially liked how Kyoto-style white/red bean paste becomes the flavor base for everything you create. I also appreciated the instruction quality, with an instructor who can manage English well enough that the steps actually make sense.
One thing to plan for: the pace is pretty tight, and the building has no elevator, so you’ll need to handle stairs and arrive on time.
In This Review
- Key things I’d bet on before you go
- Nerikiri making in Osaka: what you’ll actually create in 65 minutes
- Kyoto bean paste is the flavor backbone here
- Step-by-step class flow: from explanation to flower-shaped nerikiri
- Kinton nerikiri: your second seasonal sweet with a different look
- Eat your nerikiri on the spot: the point is taste, not just photos
- Price and value: why $11 makes sense for what you do
- Getting there near Higobashi, Watanabebashi, or Yodoyabashi
- English support, instructor style, and how to make it work if you’re nervous
- Who this nerikiri class fits best
- Small practical considerations that can affect your experience
- Should you book this nerikiri making class?
- FAQ
- FAQ
- How long is the nerikiri making experience?
- What will I make during the class?
- What ingredients are used?
- Can I eat the sweets after making them?
- What does the price include, and are there extra charges?
- Is the class offered in English?
- Where should I meet?
Key things I’d bet on before you go
- Kyoto long-established bean paste is used as your core ingredient for both sweets.
- You’ll make two seasonal nerikiri instead of just one decorative piece.
- The class runs about 65 minutes, with a clear end time and time to eat.
- There’s a hands-on flower-shaped nerikiri plus Kinton nerikiri—variety in one session.
- You get a built-in picture time when your sweets are done.
- You can eat on the spot, so you’re not stuck wondering how it tastes later.
Nerikiri making in Osaka: what you’ll actually create in 65 minutes
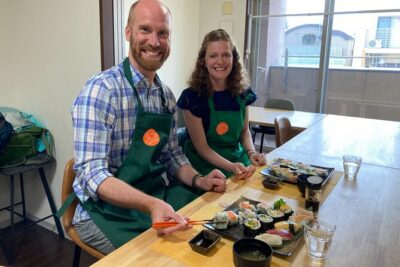
Nerikiri is one of those Japanese sweets where the craft matters as much as the flavor. In this class near Osaka’s core, you’ll do more than watch a demo. You’ll form two seasonal sweets yourself, guided step by step, then sit down and eat what you made.
The timing is refreshingly straightforward. The experience starts with an explanation about Japanese traditional sweets, then you move into making the sweets, and you’re done around the 55-minute mark. You’ll have a final eating window before leaving the room.
If you like activities where you leave with something tangible, this hits the sweet spot. You get edible art, plus the satisfaction of having done it with your own hands.
You can also read our reviews of more tours and experiences in Osaka
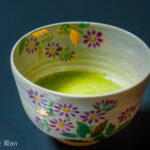
Kyoto bean paste is the flavor backbone here
The highlight ingredient is the bean paste. You’ll use white/red bean paste produced by Kyoto’s long-established shops, and that matters for two reasons.
First, it gives your nerikiri a more authentic taste than you’d get from generic ingredients. Second, the paste consistency affects how the dough shapes and holds its form. When the base is good, the shaping part becomes easier to learn because the material behaves the way it should.
You’ll also be able to taste your work right away. Since you can eat the sweets on the spot, you don’t have to guess whether the result was worth the effort. You’ll find out immediately whether the sweetness and texture match what you expected.
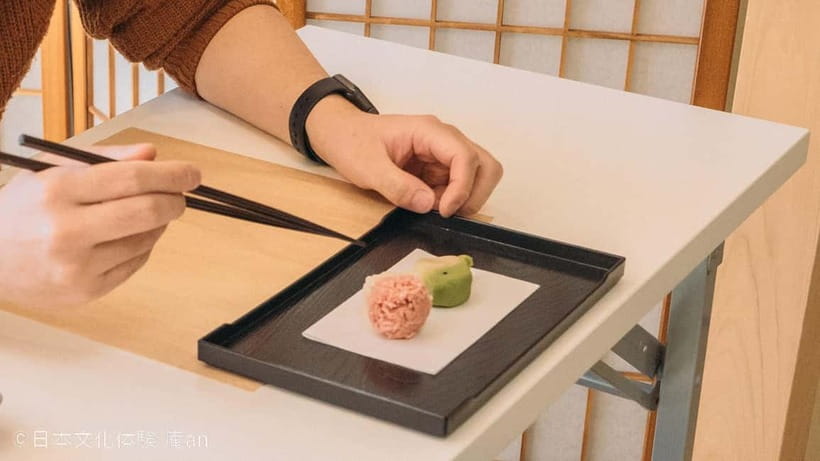
Step-by-step class flow: from explanation to flower-shaped nerikiri
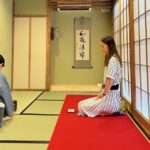
The session is structured like a mini workshop, with short phases that keep things moving. At the beginning, you’ll get an explanation about Japanese traditional sweets. It’s not a lecture marathon; it’s there to help you understand what you’re making and why the season and shape matter.
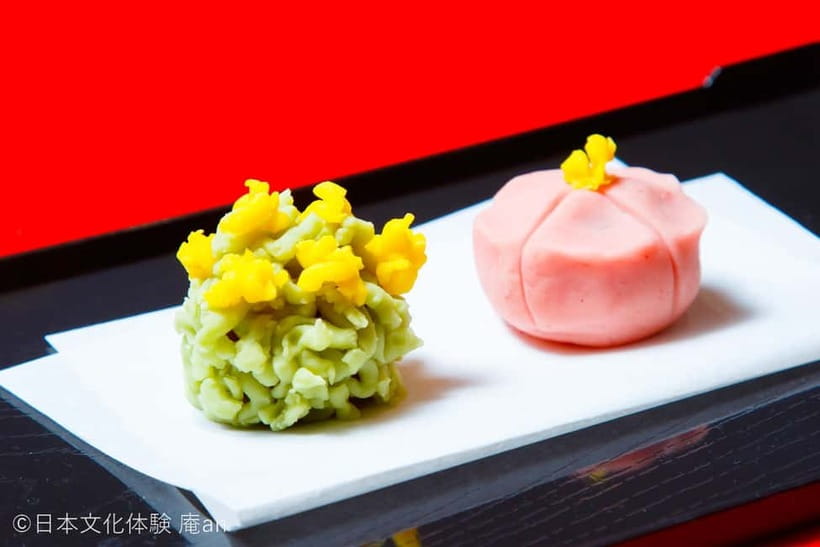
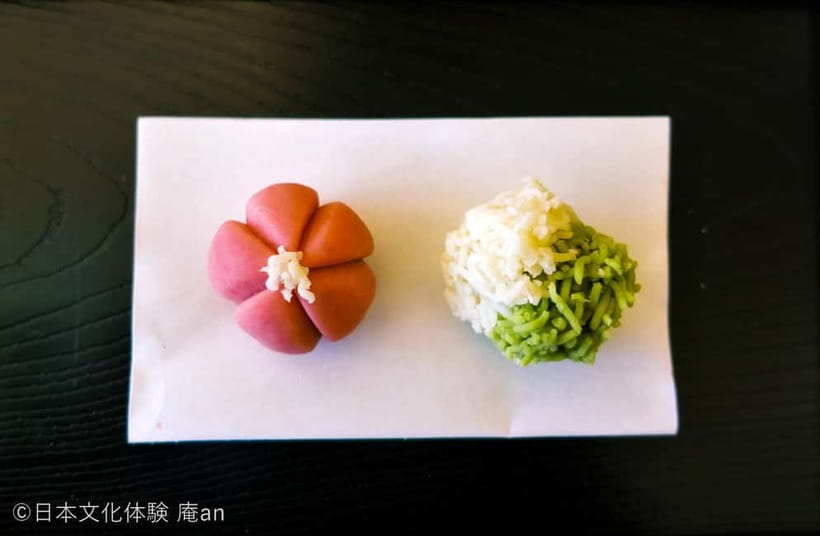
Then you get into the first craft segment: flower-shaped nerikiri making. This is a great choice for beginners because flowers are recognizable and visually rewarding. Even if your lines aren’t perfect, you’ll still end up with something that looks like it belongs on a wagashi plate.
You’ll work with the dough and learn the practical side: shaping, pressing, and getting the details to land. Expect lots of instructor input, and a hands-on pace rather than a passive one.
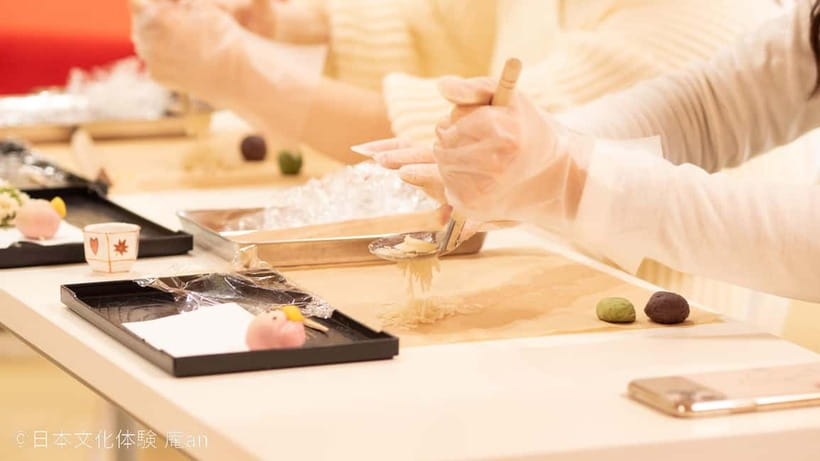
Kinton nerikiri: your second seasonal sweet with a different look
After the flower piece, you’ll make Kinton nerikiri as your second seasonal sweet. The class is designed so you’re not stuck doing the same technique over and over. Different shapes tend to reveal different challenges, and that variety is part of what makes the class feel complete.
When you finish both sweets, there’s picture time. This is one of those small touches that makes a difference. It gives you a moment to appreciate your finished work, grab photos, and then move on without rushing.
This is also where you’ll notice the quiet value of doing two sweets in one session: you get a chance to improve as you go. Your second piece often reflects what you learned from the first, even if only on muscle memory—how hard to press, how to smooth, and how to keep the shape clean.
Eat your nerikiri on the spot: the point is taste, not just photos
In many food classes, the best part happens after you leave. Here, the payoff is immediate. You can eat the sweets right on site.
That changes the whole vibe. You’re not treating the project like a craft souvenir. You’re tasting the texture and sweetness while the sweets are fresh and at the right moment after making.
You also get the satisfaction of seeing your work as food, not just an object. Nerikiri is often presented like art, but the whole reason you learn it is for the experience of eating something you shaped yourself.
If you’re the type who worries about whether handmade wagashi will be too sweet or unfamiliar, this is a safe way to test that. You can evaluate the flavor on the spot and move on without carrying anything you’re unsure about.


Price and value: why $11 makes sense for what you do
At about $11 per person for a 65-minute session, the value comes from the combination of ingredients, instruction, and output. You’re not paying just for a seat. You’re paying for guided shaping time, access to bean paste, and the materials needed to produce two seasonal sweets.
Two things push it into good value territory:
- You make two sweets, not one, in the same window.
- You’re using bean paste from Kyoto’s long-established shops, which is a specific quality point rather than a vague promise.
There are a couple of add-ons. If you want a take-out box, it’s 100 JPY. If you want an experience completion certificate, it’s 300 JPY. Those aren’t required, and the class already includes eating your sweets on site—so you’re not forced to spend extra to feel like you got your money’s worth.
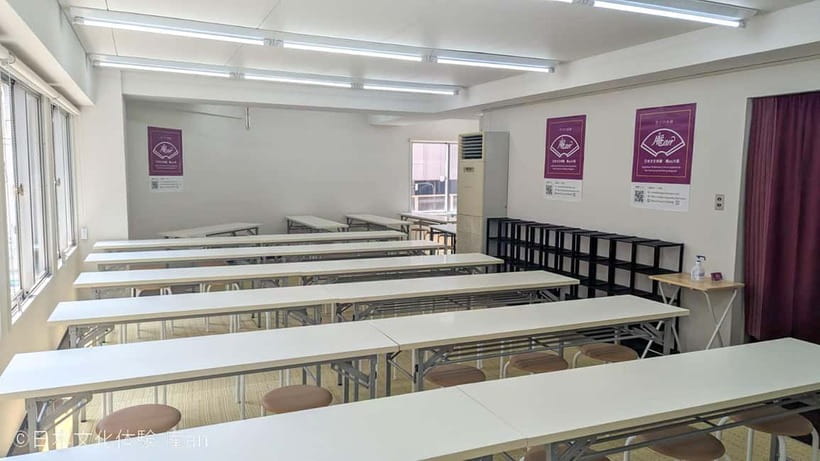
Getting there near Higobashi, Watanabebashi, or Yodoyabashi
Logistics are where a lot of classes accidentally lose points. This one is easy to reach, with multiple station options.
You’re about a 1-minute walk from Exit 10 of Osaka Metro Yotsubashi Line Higobashi Station. You can also use Exit 7 of Keihan Nakanoshima Line Watanabebashi Station (about 5 minutes). If you prefer a bigger anchor, Yodoyabashi Station is about 7 minutes on foot (Osaka Metro/Keihan Line). Other nearby options include Kitashinchi Station (about 10 minutes) and Osaka Station (about 15 minutes).
You’ll also find parking nearby with coins, for anyone arriving by car.
One practical note: there’s no elevator. You’ll need stairs to reach the venue areas. If you’re traveling with a heavy bag or you’re sensitive to stairs, plan accordingly and give yourself a little extra arrival time.
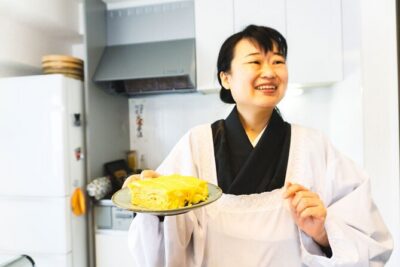
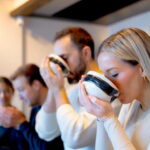
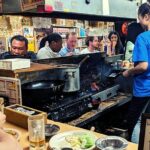
English support, instructor style, and how to make it work if you’re nervous
The class language is Japanese, but English translation is provided as much as possible. Based on feedback from recent participants, the instructor’s English is solid enough to get through the steps comfortably.
There’s also a friendly element to the teaching style. One participant noted they had a fun conversation angle, including football chat, alongside the instruction. That sort of relaxed atmosphere matters because nerikiri making asks you to slow down and focus with your hands.
So if you worry that you’ll be lost in a language barrier, don’t panic. The key is to watch the instructor’s hands and use the translation when it’s offered. Your best tool here is attention, not vocabulary.
Who this nerikiri class fits best
This is a good fit if you want:
- a hands-on Japanese food experience with a clear finish line,
- a quick craft that doesn’t eat your whole day,
- a way to learn wagashi basics through making, not just tasting.
It’s also a strong choice for couples and friends who like shared activities and taking photos of the results. Solo travelers can do fine too, because the class structure keeps you engaged from start to finish.
Families should note the basics: children who sit on their parents’ lap are free of charge for those under 2 years old. The venue also requires that you participate in the experience to enter, so this is best for kids who will be part of the activity rather than observers.
Small practical considerations that can affect your experience
A few details can shape how smoothly your session goes.
First, there’s a set operating window: 10:00 to 17:00. If your reservation comes in after 17:00, it’s handled the next day.
Second, the event can’t be held to accommodate delays. That means if you’re running late, you risk missing the start and the class moving on without you. I’d rather you arrive a touch early than sprint in at the last minute.
Third, the workshop is language-supported but still Japanese-forward. If you don’t read Japanese, it’s still workable because instructions are provided and the steps are physical. Just don’t expect a totally text-heavy experience.
Should you book this nerikiri making class?
If you want a real food craft you can do in one hour, I think this is an easy yes. Two-sweet output, Kyoto bean paste, and the fact that you eat your creations on the spot makes it feel like a full experience rather than a quick photo stop.
Skip it only if you strongly dislike stairs or you need a very flexible schedule. Also, if you’re only interested in tasting and have zero interest in shaping anything, the class requires participation, so it’s better to choose a different kind of food activity.
FAQ
FAQ
How long is the nerikiri making experience?
The experience lasts about 65 minutes, with time to make the sweets and then eat them on the spot.
What will I make during the class?
You’ll make two Japanese traditional sweets called nerikiri, matching the season. The class includes flower-shaped nerikiri and Kinton nerikiri.
What ingredients are used?
You’ll use white/red bean paste produced by Kyoto’s long-established shops.
Can I eat the sweets after making them?
Yes. You can eat the sweets on the spot.
What does the price include, and are there extra charges?
The price includes the set of the nerikiri making experience. A take-out box costs 100 JPY, and an experience completion certificate costs 300 JPY.
Is the class offered in English?
Japanese is the main language, and English translation is provided as much as possible.
Where should I meet?
Meet near the venue close to Higobashi Station (Osaka Metro Yotsubashi Line), Watanabebashi Station (Keihan Nakanoshima Line), or Yodoyabashi Station. The exact walking times depend on which station exit you use, and there’s a map link and coordinates available in the listing.