REVIEW · OSAKA
Osaka Dotonbori Night Photoshoot – Private | Pro Photographer
Book on Viator →Operated by Marco Vinicio · Bookable on Viator
Turn neon into photos that look planned.
This private Osaka Dotonbori night photoshoot is built for the one place where snapshots usually fail: dark streets, bright signs, and fast-moving crowds. I like that you get expert night photography direction instead of just walking around holding a phone, and I like the way it’s paced like a relaxed photo walk, not a rushed “press the shutter” job. One thing to keep in mind: it’s a night shoot, so if your goal is ultra-candid photos with zero posing, you’ll still be guided.
You’ll meet at the Glico Running Man area and then move through key spots and quieter angles, including the Ebisubashi Bridge zone and Hozenji Yokocho. My only caution is practical: you’re paying for a private, pro-led session, so if you’re traveling light on budget and already feel comfortable doing night photos yourself, this may feel like extra.
In This Review
- Key Highlights That Matter (Not Just Nice-to-Haves)
- Why Dotonbori at Night Is Tricky (and Why Pro Help Pays Off)
- Meet Marco Vinicio at the Glico Sign (Your Starting Point)
- The 60-Minute Neon Photo Walk: How the Session Flows
- Stop 1: Dotombori Glico Running Man Sign (Start With a Classic, Not a “Guess”)
- Stop 2: Ebisubashi Bridge Zone (Neon Reflections and Photo-Friendly Angles)
- Stop 3: Hozenji Yokocho (A Different Vibe From the Neon Street)
- Stop 4: Hidden Angles (Where the “Magazine Quality” Happens)
- Posing Guidance: The Real Skill Behind “I Don’t Know How to Pose”
- The Photo Deliverables: What You Actually Get After the Shoot
- Value: Is $164.22 a Good Deal for a Private Night Session?
- Who This Is Best For (And Who Might Skip It)
- A Quick Strategy Before You Start Shooting
- Should You Book This Dotonbori Night Photoshoot?
- FAQ
- How long is the Osaka Dotonbori night photoshoot?
- Where do we meet for the photoshoot?
- Is this tour private?
- How many photos do I receive and what kind?
- What photo locations are included?
- Do I get help with posing?
- What about weather?
Key Highlights That Matter (Not Just Nice-to-Haves)
- Pro night-setup know-how: the photographer is set up for low light, so you’re not betting on luck.
- 30 professionally edited photos: you get a real deliverable, not just raw images.
- Guided posing for night conditions: you’ll be told what to do with your face and body so you don’t freeze.
- Icon + side-street mix: Glico Running Man Sign, Ebisubashi Bridge, Hozenji Yokocho, plus hidden angles.
- Multiple evening start times: you can match the shoot to your Osaka plans.
- High-resolution digital files after the session: made for sharing and keeping.
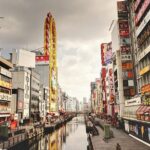
Why Dotonbori at Night Is Tricky (and Why Pro Help Pays Off)
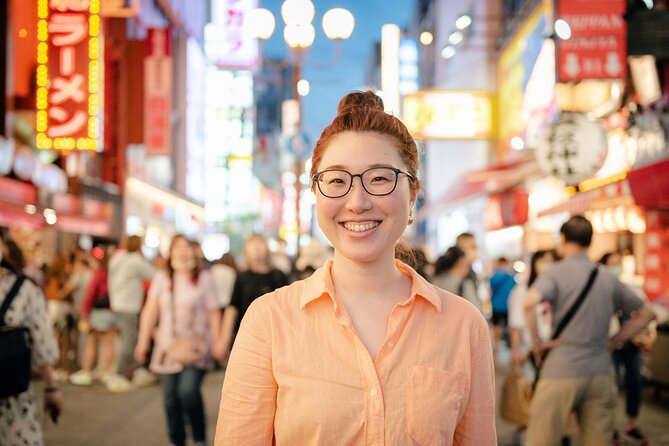
Night photography sounds simple until you try it. Neon signs are bright, the ground is dark, and your phone has to choose what to expose for. The result is often either blown-out light or faces that turn into silhouettes.
A pro night specialist tackles the balance—keeping the glow from overpowering you while making your photos sharp and readable. You’re paying for that technical edge, plus someone who knows exactly where the light hits best in Dotonbori’s tight, sign-filled streets.
You can also read our reviews of more private tours in Osaka
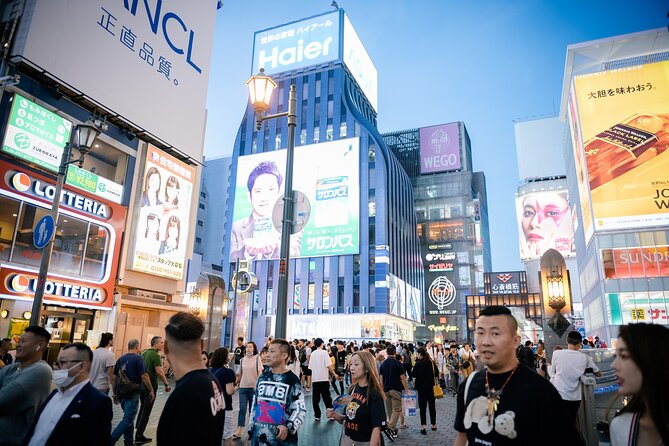
Meet Marco Vinicio at the Glico Sign (Your Starting Point)
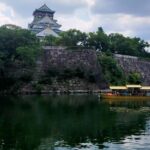
Your session starts at the Glico Sign Dotonbori area: Glico Sign Dotonbori 1-chōme-10-3, Dōtonbori, Chuo Ward, Osaka, 542-0071. This is the right kind of meeting point for a night shoot: it’s a clear landmark and it sets the visual theme immediately.
From the first frames, you’ll see the benefit of doing this privately. Instead of taking the same quick photo everyone else gets, you’ll get direction on posing and how to place yourself so the neon looks intentional around you.
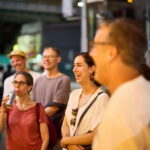
The 60-Minute Neon Photo Walk: How the Session Flows
The shoot runs about 1 hour and it’s private—just your group. That matters because you’re not competing with other people for the photographer’s attention, and you won’t feel like you’re being herded through photo stops.
The rhythm is a relaxed walking session as the city lights up. Your photographer guides you as you move between iconic and lesser-obvious angles, so you spend less time figuring things out and more time actually getting good pictures. Sessions proceed in all weather conditions, so you’re not stuck waiting for a perfect sky.
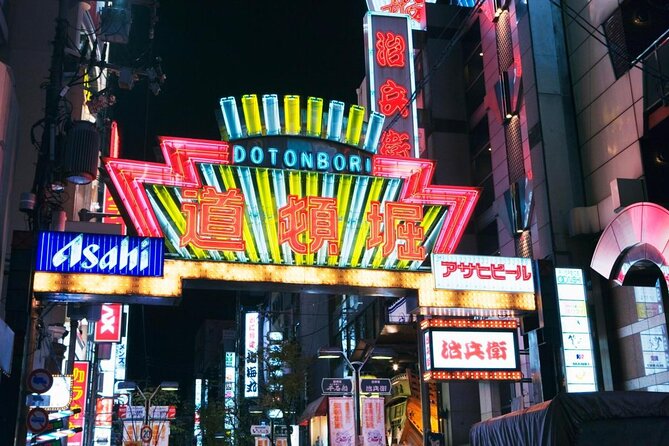
Stop 1: Dotombori Glico Running Man Sign (Start With a Classic, Not a “Guess”)
The Glico Running Man Sign is the obvious anchor of Dotonbori night photos. What’s not obvious is how to stand so it flatters you, not just the sign behind you.
This is where the photographer’s night experience shows. You’ll get posing tips meant for low light and strong signage—things like how to angle your body, where to look, and how to keep your face lit without washing out your features. If you’ve never done a photo session before, this stop is a confidence builder because you’re working with clear visual cues.
Why it’s worth doing here: you start with the most recognizable symbol, and the rest of your photos can build off that signature look.
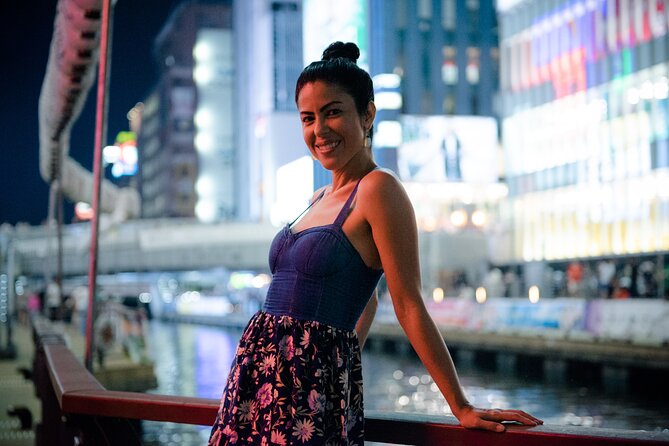
Stop 2: Ebisubashi Bridge Zone (Neon Reflections and Photo-Friendly Angles)
From the Glico Sign area, you’ll head toward the Ebisubashi Bridge area. Bridges at night give you two big advantages: stronger directional light and more reflective surfaces that can make the scene feel cinematic.
The tricky part is that neon can overpower the subject. This is where having an equipment-ready photographer matters, because the goal is to keep the lights readable while still giving you crisp faces and clean detail.
How this stop usually feels: more “scene” and atmosphere than pose-only. You still get direction, but it’s timed to let the environment do some of the work.
You can also read our reviews of more evening experiences in Osaka
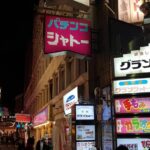


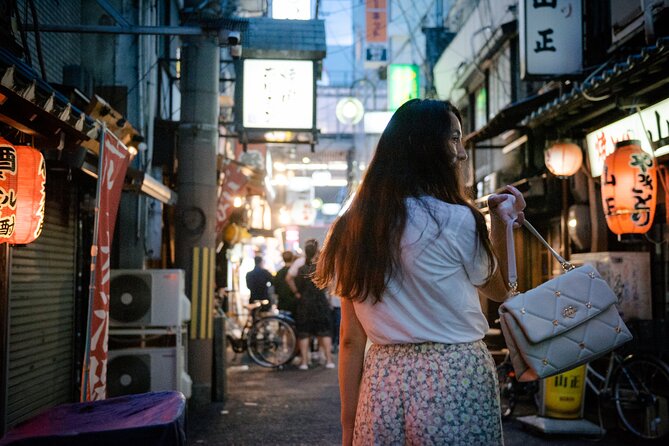
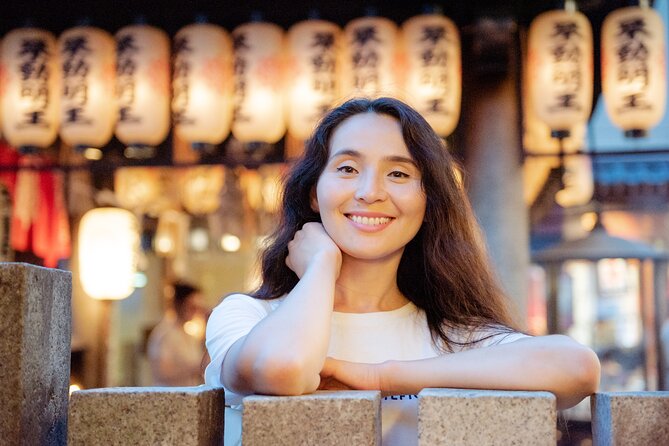
Stop 3: Hozenji Yokocho (A Different Vibe From the Neon Street)
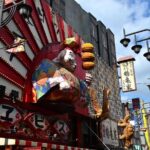
Hozenji Yokocho shifts the mood. It’s still in the Dotonbori universe, but the visual texture is different—more alley-like, less straight-on sign dominance, and often better for photos that feel less like a postcard and more like a moment.
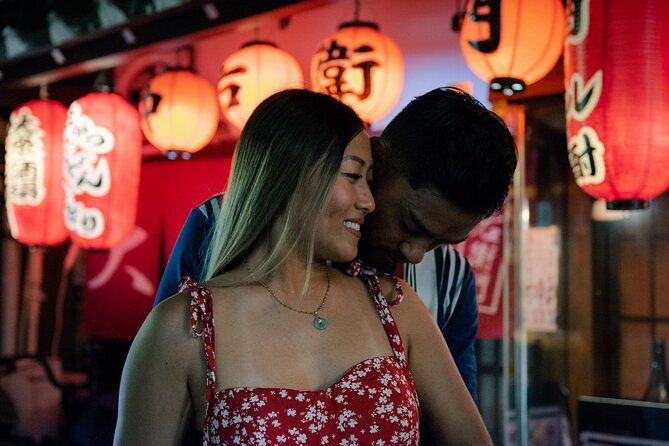
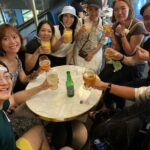
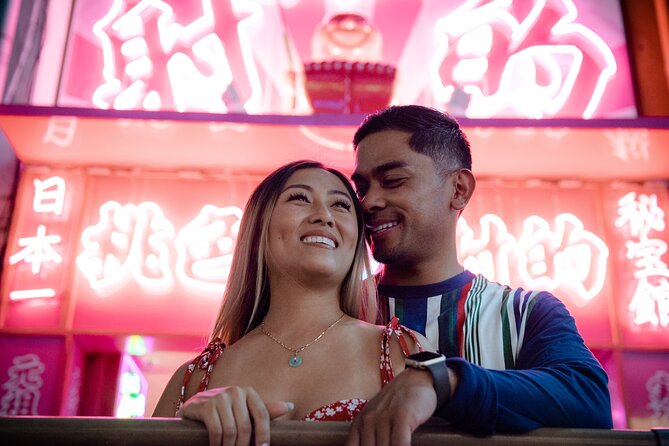
This is also a smart stop for couples and anniversaries. A guided nighttime walk through Hozenji Yokocho can produce images that look like you planned them, not like you got lucky at the perfect corner.
What you gain here: variety. If every photo looks like the same neon wall, the set feels repetitive. Hozenji helps break that pattern.
Stop 4: Hidden Angles (Where the “Magazine Quality” Happens)
The experience doesn’t stop at the famous locations. You’ll also be taken to more hidden spots that are hard to find on your own. That’s a big deal in Dotonbori, because the most obvious viewpoints are also the most over-photographed.
This part of the session is where you often end up with your favorite images—angles that feel like you discovered them, but that you actually got because your photographer knows the area’s lighting and sightlines.
In the end, you’ll receive 30 professionally edited photos with a cinematic style. Those edits matter: they’re what turn a night walk into a set of photos that look consistent and intentional.
Posing Guidance: The Real Skill Behind “I Don’t Know How to Pose”
If you’ve ever stood in front of a camera and felt awkward, you’re not alone. Night photos add pressure because you might be moving, squinting into bright signage, or trying to avoid dark shadows.
What I appreciate about this shoot format is the emphasis on expert posing guidance for night conditions. The photographer doesn’t just take photos; they coach your expressions and body positions so you look natural while still fitting the lighting.
The payoff shows up fast. Many people do this as a first-time photo session and leave feeling comfortable because the photographer explains what to do and adjusts as the shoot goes.
The Photo Deliverables: What You Actually Get After the Shoot
You’ll receive high-resolution digital photo files after the session. The experience specifically includes 30 professionally edited photos, finished in a cinematic style meant to capture the energy of Osaka at night—not the washed-out, underexposed look that often comes from phone-only efforts.
In practical terms, you’re not waiting for hours of editing on your end. And based on past participants’ experiences, you can expect a link to the edited photos a few days after the shoot.
Value: Is $164.22 a Good Deal for a Private Night Session?
At $164.22 per person, this isn’t the budget option. But it is strong value if your goal is memorable photos that look like you hired a professional—because you’re buying three things at once:
- Time with a night photography specialist for about 1 hour
- Editing (30 professionally edited images)
- Local knowledge + direction so you’re not guessing your way through Dotonbori after dark
If you’re a couple, it can also work out better than many people expect when you think about what you’d otherwise spend to get a similar result. You’re effectively paying to buy back confidence, guidance, and the right angles.
If you’re traveling solo and already love phone night photography, you might feel the price more. But if you want portrait-quality results without fiddling with settings, the pro-led approach is the point.
Who This Is Best For (And Who Might Skip It)
This is ideal if you want photos that feel like Osaka, not just photos taken in Osaka. It fits well for:
- couples and honeymooners
- people celebrating an anniversary (including major milestones)
- solo travelers who want portraits with strong lighting
- anyone who wants Instagram-friendly images without feeling like they need to “perform” on their own
You might consider skipping if you only want candid travel shots and hate the idea of being guided. This shoot is built around direction, stops, and producing a polished set of images.
A Quick Strategy Before You Start Shooting
You’ll get posing tips during the walk, but it helps to show up with a simple idea of what you want. The photographer is there to help you match your poses to the lighting and the mood of each stop.
If you’re traveling with friends or family, treat it like a shared activity. You can walk into the session knowing you’ll be directed and that the photographer will find the spots most people miss—so you don’t have to fight the crowd or hunt for angles yourself.
And since you can choose from several evening start times, pick one that fits your energy level. Night photos are fun, but you want enough time in your day to enjoy the neighborhood, not just rush through it.
Should You Book This Dotonbori Night Photoshoot?
Book it if you want real portrait-quality night photos from Dotonbori’s neon icons and side streets, and you value having a pro coach you instead of learning night photography on the spot. The mix of famous stops, quieter angles, and 30 professionally edited, cinematic-style images makes it feel like a complete package.
Skip it if you’re strictly budget-minded and you’re happy getting phone shots with no direction. In Dotonbori, you can take great photos yourself—if you already know how to handle night exposure and you’re comfortable working the scene. If you’re not, this private session buys you the expertise and the confidence quickly.
FAQ
How long is the Osaka Dotonbori night photoshoot?
The session lasts about 1 hour.
Where do we meet for the photoshoot?
The meeting point is the Glico Sign Dotonbori area: Glico Sign Dotonbori 1-chōme-10-3, Dōtonbori, Chuo Ward, Osaka, 542-0071, Japan.
Is this tour private?
Yes. It’s private, and only your group participates.
How many photos do I receive and what kind?
You receive 30 professionally edited photos, delivered as high-resolution digital photo files.
What photo locations are included?
The route includes Dotombori Glico Sign and also covers Ebisubashi Bridge and Hozenji Yokocho, plus additional hidden photo angles.
Do I get help with posing?
Yes. Your private photographer provides posing tips and expert direction for night conditions.
What about weather?
Sessions proceed in all weather conditions, and the experience requires good weather. If it’s canceled due to poor weather, you’ll be offered a different date or a full refund.