REVIEW · OSAKA
Osaka Night Photography Workshop
Book on GetYourGuide →Operated by Shoot Travel Japan · Bookable on GetYourGuide
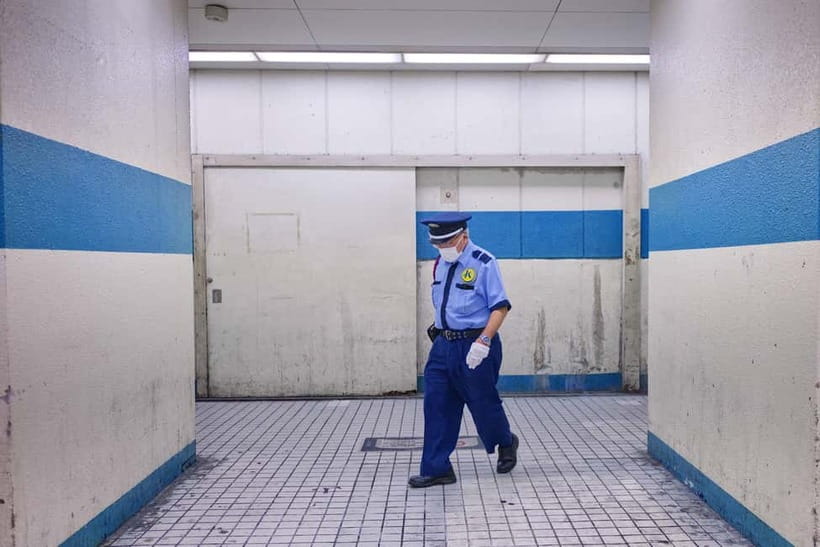
You can’t fake night photos in Osaka. This 3-hour night photography workshop turns tricky low light into something you can control, with hands-on coaching and a route that hits the city’s electric street scenes. I especially liked the step-by-step instruction for getting sharp results at night and the way you get a practical plan for using your camera instead of guessing. The main thing to consider is that you’ll cover a lot of ground, so comfortable shoes matter.
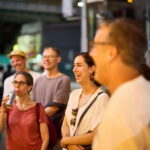
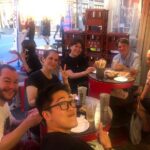
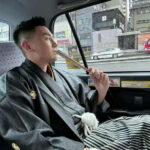
The guide is English-speaking and the experience runs as a private group, with the pace matched to your level. In the reviews, Irven Lewis is singled out for being flexible and genuinely game to work around what you want to shoot, including taking extra time to match a beginner’s comfort level. If you’re expecting a casual stroll with zero learning, this is probably not that kind of workshop.
In This Review
- Key Highlights You’ll Actually Feel
- Osaka Night Photography Workshop: Why This Works at Night
- Price and What $200 Gets You in 3 Hours
- Before You Go: Shoes, Pace, and What to Expect
- How the Coach Teaches Manual Night Settings (Exposure Triangle First)
- Dotonbori: Your First Night Assignment in Neon Reflections
- Nipponbashi and Shinsekai: Composition, Light Trails, and Street Texture
- Tennōji and the Train Hop: More Angles, More Options
- Kyoto-Style Landmarks in the Guide’s Toolkit
- The Photo Review Moment: Fixes You Can Use Tomorrow
- Who This Workshop Fits Best (And Who Should Skip It)
- Tips to Get Better Results Fast During the 3 Hours
- Should You Book This Osaka Night Photography Workshop?
- FAQ
- How long is the Osaka Night Photography Workshop?
- Where does the workshop take place?
- What does the tour cost?
- Is this workshop good for beginners?
- What camera types are supported?
- Do I learn manual camera settings?
- Will we use a tripod?
- Is there an optional extra evening session?
- Is food included?
- What should I bring?
- Is the guide available in English?
- Can I cancel and get a refund?
Key Highlights You’ll Actually Feel
- Private coaching that meets you where you are, from absolute beginner to working photographer
- Manual-mode training built around the exposure triangle (aperture, ISO, shutter speed)
- Tripod technique for sharper nighttime frames, plus composition and framing help
- A focused night route in Osaka through Dotonbori, Nipponbashi, Shinsekai, and Tennōji
- Light-trail and timing practice, with an optional evening session if you choose
- Photo review and feedback, so you leave knowing what to adjust next time
Osaka Night Photography Workshop: Why This Works at Night

Night photography sounds glamorous. The reality is messier: dark streets, bright signs, moving people, and a camera that keeps trying to do what it thinks is right. This workshop is built for that exact problem. You’re not just shown where to point your lens. You learn how to make choices—then you practice those choices immediately.
What I like most is the coaching style. You get step-by-step guidance for your level, whether you’re starting from camera basics or you already know manual exposure but want a better game plan for Osaka’s night lighting. Instead of generic tips, you work on the real knobs that matter when the sky gets dark: how to manage exposure, how to control sharpness, and how to compose in scenes where light and motion fight for attention.
You’ll also get a route that makes sense for learning. The workshop starts with high-energy street lighting where you can see your settings instantly. Then you move toward areas that reward patience—places where timing and composition help you capture the mood, not just the objects.
You can also read our reviews of more evening experiences in Osaka


Price and What $200 Gets You in 3 Hours
At $200 per person for a 3-hour session, you’re paying for coaching time plus route guidance plus feedback. That’s not cheap, but it’s also not overpriced if you treat it like skill-building, not sightseeing.
Here’s the value math that usually matters: night street photography is hard to self-teach quickly. You can spend a day wandering, then still end up with “pretty but blurry” results because you didn’t know which setting was causing the problem. In this workshop, you practice the exact tools that create better night frames—manual settings, exposure triangle thinking, composition, and timing—while someone corrects your approach in real time.
The private-group format also matters. In a group of strangers, questions can get swallowed. In a private setup, you can get immediate fixes and move at a pace that actually fits your learning curve. Add the photo review at the end, and the workshop starts to feel like a mini coaching session rather than a tour.
One practical note: the reviews mention that the route covers a lot, fast enough that you may burn through camera battery. If you’re paying attention to value, bring spare power so you can actually use the learning you bought.
Before You Go: Shoes, Pace, and What to Expect
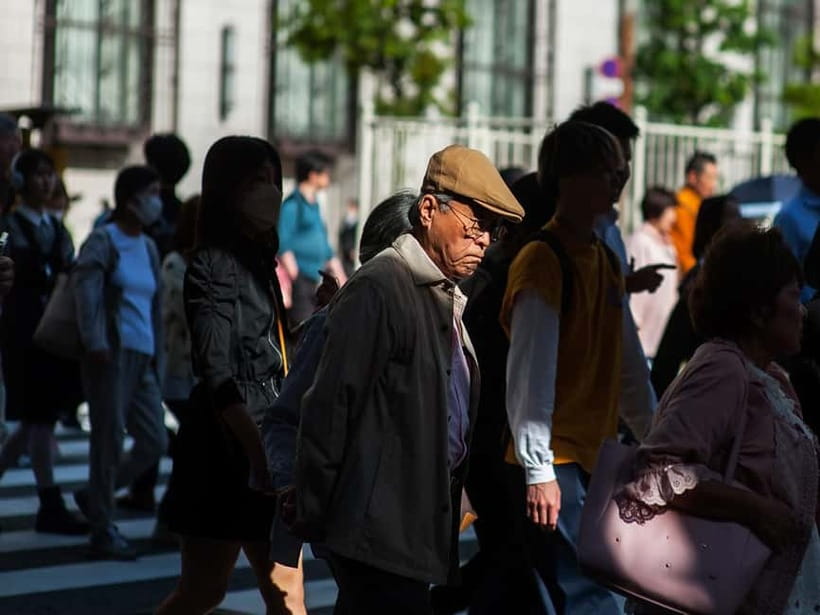
The workshop lists one must-have: comfortable shoes. That’s not a throwaway line. The route includes multiple iconic neighborhoods and ends with a train hop to another prime shooting area. In the reviews, people mention lots of walking, and I’d take that seriously if you’re planning this around jet lag or a full day of sightseeing.
Also think about energy management. Night shooting means you’ll be checking your screen, reviewing frames, and resetting your settings. If you shoot a lot on bursts (common at night), your battery life can vanish. Bring extra batteries or a power solution you trust, especially if you’re using a DSLR or mirrorless.
Camera support is broad: DSLR, mirrorless, or smartphone are welcome. That doesn’t mean every device has the exact same controls, but it does mean you won’t be shut out if your camera is small. The training is tailored to your level, so you should be able to translate the instruction to what your gear allows.
How the Coach Teaches Manual Night Settings (Exposure Triangle First)
The heart of the workshop is learning to control exposure instead of hoping your camera guesses correctly. You’ll focus on the exposure triangle—aperture, ISO, and shutter speed—plus composition and framing. For night street photography, this is the difference between accidental shots and repeatable results.
Here’s how that translates in practice during a night workshop:
- You learn how aperture affects depth of field and how much of a scene stays sharp from foreground to background.
- You learn how ISO changes brightness but also impacts noise, which becomes more visible at night.
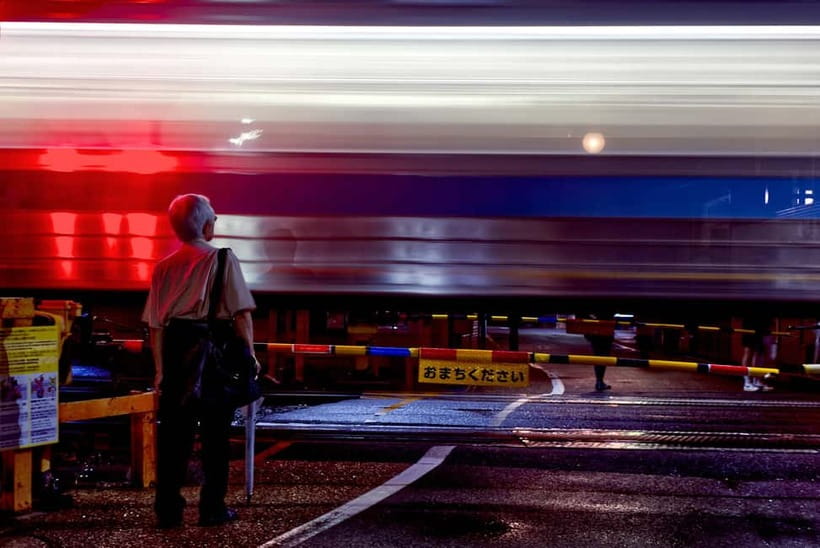
- You learn how shutter speed can freeze motion or create trails, depending on what you want the scene to do.
You’ll also work on timing, which is huge for street scenes. In daytime, you can often wait for the right angle without feeling the moment slip away. At night, light and movement change fast. The workshop pushes you to make decisions quickly, then refine them through practice.
Finally, you’ll get tripod coaching—how to set it up and how to use it intentionally for sharp images. Even if you mostly handhold, knowing tripod technique helps you understand stability, camera shake, and why certain night shots suddenly look crisp.
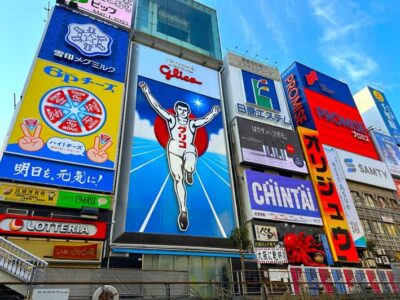
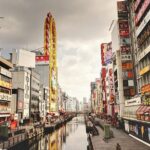
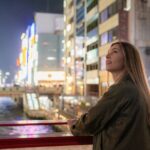
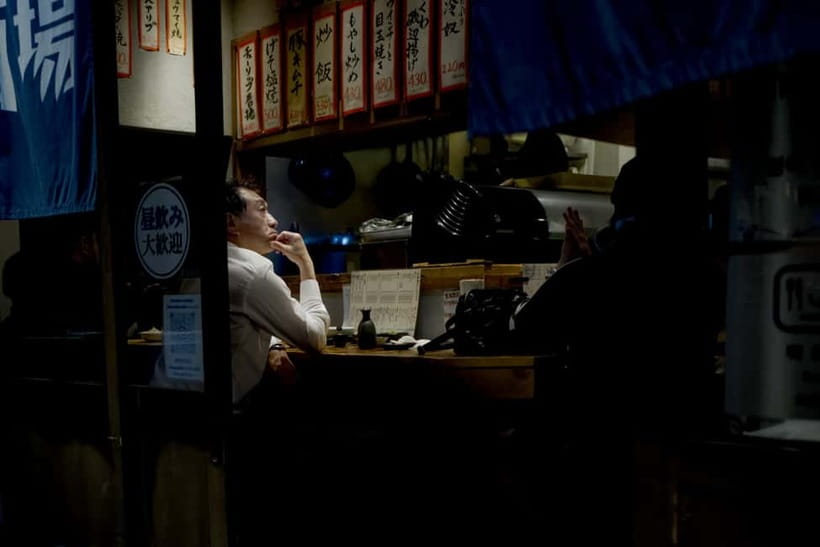
Dotonbori: Your First Night Assignment in Neon Reflections
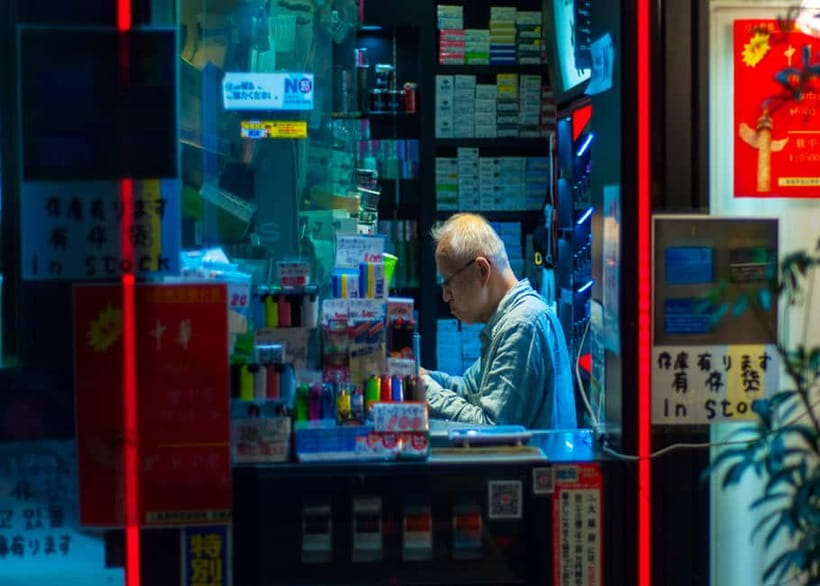
The tour starts at Dotonbori, and that’s a smart choice for learning. It’s full of bright signage and reflective surfaces. That means your camera settings respond quickly, so you see cause and effect instead of guessing.
In Dotonbori, you’ll likely practice framing and composition in a place where there are endless subjects competing for attention. The coaching helps you choose what matters in the frame. Instead of photographing everything, you learn how to build a shot: subject placement, light direction, and how to use the environment without turning your photo into a busy blur.
This is also where you’ll get comfortable with night exposure control. You’ll experiment with manual settings and see how changing shutter speed or ISO changes the character of the scene. Want crisp details with less noise? You adjust differently than if you want motion and atmosphere.
One thing I’d emphasize: shooting night street photos is about storytelling. Dotonbori helps you practice that because the environment is so expressive. A good photo here doesn’t just show lights—it shows energy, movement, and human scale against the glow.
You can also read our reviews of more photography tours in Osaka

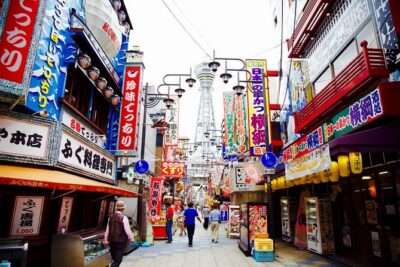
Nipponbashi and Shinsekai: Composition, Light Trails, and Street Texture
After Dotonbori, the workshop heads through Nipponbashi and then into the nostalgic streets of Shinsekai. This part of the route is where the training shifts from basic control to creative intent.
Nipponbashi is a useful transition zone. You can look for layered scenes—lights receding into the distance, storefronts that frame your subject, and street geometry that naturally supports strong composition. The coaching helps you use framing to guide the viewer’s eye instead of just collecting neon.
Then you reach Shinsekai, which is all about character. The nostalgia factor matters because it gives your photos a story beyond the obvious sign-and-skyscraper look. Shinsekai gives you textures and shapes that respond well to lower shutter speeds, especially if you’re aiming for light trails or a moodier feel.
This is also where the optional “extra evening session” concept becomes relevant. The workshop’s training includes light trails and timing, and those skills pay off most in neighborhoods where you can stretch exposures just enough to capture motion while keeping your subject readable. If you opt into the extra session, you’re aiming for more illuminated scenes and more deliberate night experimentation.
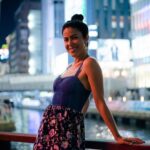
Tennōji and the Train Hop: More Angles, More Options
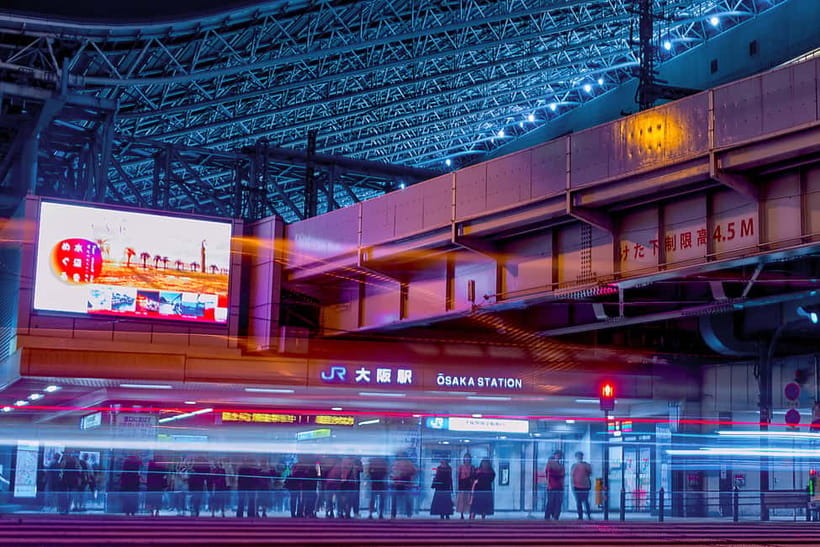
The route continues to Tennōji, reached after a train segment. The train-hop detail sounds small, but it changes how you shoot.
You move to a new pocket of lighting and street behavior, which gives you fresh composition opportunities without repeating the same visual patterns. It also helps you practice pacing—resetting your camera settings, scanning quickly for frames, and then building images with intention.
For people learning night photography, this part of the workshop can be surprisingly helpful. It forces you to translate what you just learned—exposure triangle thinking, manual adjustments, tripod choices, and framing—into a new environment. That’s the moment where skills stop being “something that worked earlier” and start becoming repeatable.
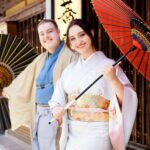
Kyoto-Style Landmarks in the Guide’s Toolkit
The workshop materials describe the experience as covering famous and lesser-known photo subjects around Kansai, including classic names like Kiyomizu-dera Temple, Yasaka Pagoda, Fushimi Inari Taisha, Gion alleys, and Shirakawa Canal.
Here’s how to use that information wisely: don’t assume every one of those stops will fit into your specific 3-hour session. Instead, treat it as a clue about the guide’s range. The coach is local to photo locations and can build a route based on interests and pace.
If you’re the type who wants more than one style of night photography—temple atmospheres, shrine gates, narrow alleys, and canal scenes—this matters. It means you can ask for an approach that suits your taste, not just a checklist.
The Photo Review Moment: Fixes You Can Use Tomorrow
Most photo workshops end with a nice walk and a handshake. This one includes photo review and feedback. That changes the value, because you get targeted critique based on what you actually shot.
During the review, you can expect constructive guidance on what to adjust next time. At night, tiny changes make a huge difference: shutter speed choices, ISO levels, focus habits, and how you frame light and motion. The review is where the workshop becomes a learning loop. You stop repeating guesses and start repeating good decisions.
If you’re a beginner, this feedback can save you from building bad habits. If you’re experienced, it helps you tighten your process for night street work in Osaka’s lighting style.
Who This Workshop Fits Best (And Who Should Skip It)
This workshop is built for two groups: absolute beginners who need camera basics and professionals who want a guide to steer them toward strong photo spots in Osaka.
It also works well for people who want to learn without feeling rushed. The pace is matched to skill level, and one review specifically praises that the guide slows down and adjusts when you’re new to street photography.
On the downside, it’s not for you if you want low-walking, low-effort “night vibes” only. Expect movement. One review notes that coverage is so extensive that battery can run out before your enthusiasm does.
Also, if you only want a guided list of Instagram-perfect angles with zero technical learning, you may find the instruction more hands-on than you expected.
Tips to Get Better Results Fast During the 3 Hours
You don’t need to arrive knowing everything. You do need to show up ready to practice. Here are a few habits that align with how this workshop teaches.
Bring extra battery or power. The route covers a lot and night shooting drains gear faster than you expect.
Be honest about what you want to shoot. One review mentions that the guide was open to shooting spots he doesn’t usually take clients to. That tells me the guide listens. If you have a specific subject style—signs, portraits, light trails, street texture—say it early.
Try manual settings, even if you think you’ll fail. Night photography improves when you experiment under guidance. The workshop is designed around getting you to control aperture, ISO, shutter speed, then immediately see results.
Wear shoes that let you move comfortably. When you’re tired, you stop thinking clearly about composition.
Should You Book This Osaka Night Photography Workshop?
Book it if you want night photography you can repeat later. The mix of manual-mode coaching, tripod instruction, light-trail and timing practice, and a hands-on photo review is exactly what helps you go from “I took photos” to “I learned how to make photos.”
Skip it if you want a leisurely tour with minimal learning and minimal walking. This is a shooting workshop with a teaching agenda. If that sounds like what you came for, you’ll get your money’s worth in the form of usable skills, not just a few pretty frames.
If you’re unsure, think about your goal for Osaka night: Do you want better photos, or do you want a guided stroll? This workshop is aimed squarely at better photos.
FAQ
How long is the Osaka Night Photography Workshop?
The duration is 3 hours.
Where does the workshop take place?
It takes place in Honshu, Japan, with a night route in Osaka that includes stops around Dotonbori, Nipponbashi, Shinsekai, and Tennōji.
What does the tour cost?
It’s priced at $200 per person.
Is this workshop good for beginners?
Yes. It’s described as perfect for absolute beginners who want to learn camera basics, plus professionals who want a guide for great photo spots.
What camera types are supported?
Support is listed for DSLR, mirrorless, and smartphone users.
Do I learn manual camera settings?
Yes. The workshop covers shooting in manual mode, including exposure triangle concepts and how to use aperture, ISO, and shutter speed.
Will we use a tripod?
You’ll learn how to work with a tripod, along with guidance aimed at getting sharper images at night.
Is there an optional extra evening session?
Yes. There’s an optional evening session focused on light trails and illuminated scenes, if you choose.
Is food included?
No. Food is not included.
What should I bring?
Comfortable shoes are recommended.
Is the guide available in English?
Yes, the live tour guide speaks English.
Can I cancel and get a refund?
Free cancellation is available up to 24 hours in advance for a full refund.